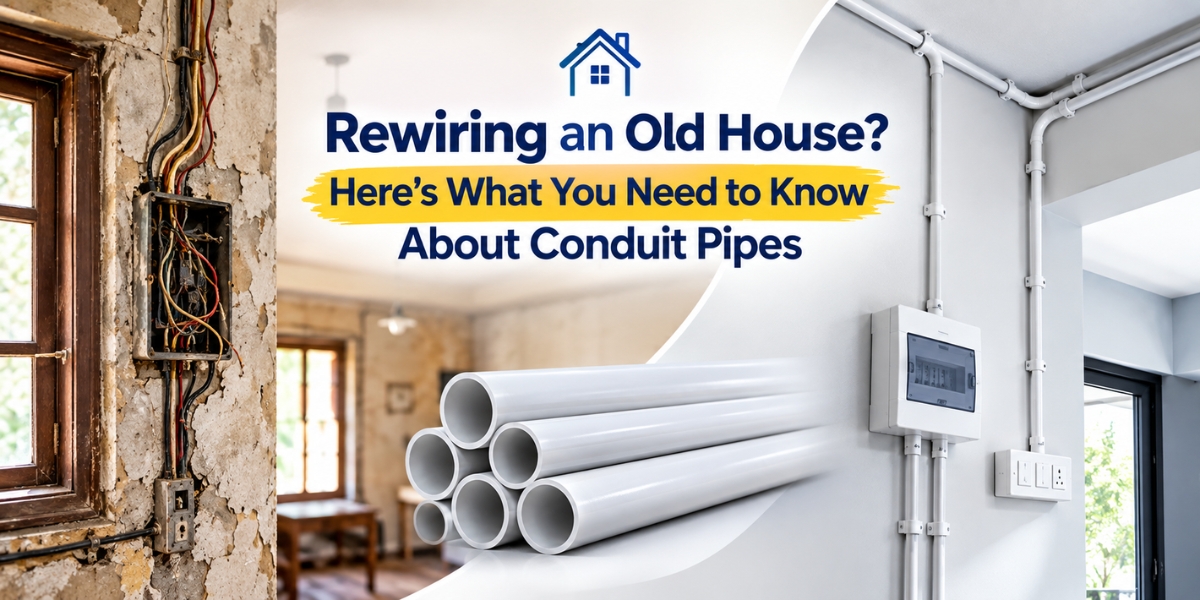
If your house is more than 15 years old, there is a reasonable chance its electrical wiring was never designed for the load it carries today. Air conditioners, geysers, microwaves, and a house full of chargers were not part of the original electrical plan for most homes built before the mid-2000s. Add in wiring insulation that degrades with age regardless of load, and a lot of older Indian homes are quietly running on electrical systems that were adequate once and are not anymore.
This guide covers how to tell if your house actually needs rewiring, why the old open wiring and casing-capping systems common in older homes need to go, how conduit gets retrofitted into a house that is already built and occupied, and what it realistically involves in terms of cost, disruption, and sequencing.
Signs your old house needs rewiring
A few warning signs show up repeatedly in homes that need electrical work, and they are worth taking seriously rather than living with.
- Flickering lights, especially when another appliance switches on, which points to loose connections or wiring that cannot handle the combined load
- Frequent trips at the main breaker or fuse, particularly when running multiple appliances together, which usually means the circuit was never sized for current usage
- A burning smell near switchboards, sockets, or the meter box, which is a genuine safety warning and should prompt an immediate inspection, not a wait-and-watch approach
- Discoloured or warm switch plates and sockets, a visible sign of overheating at the connection point that often precedes a fire risk
- Sparking when plugging in or removing an appliance, which points to worn contacts or degraded wiring at that point
- Wiring insulation that is cracked, brittle, or crumbling wherever it is visible, such as at the meter board or in an accessible loft or duct space
Any one of these on its own is worth a professional inspection. Several appearing together, especially in a house that has never had its wiring touched since original construction, is a strong signal that rewiring, not spot repair, is the right call.
Why old houses used open wiring or casing-capping, and why it needs to go
Homes built a couple of decades ago in India commonly used one of two wiring methods that have since fallen out of favour for good reason.
Open or batten wiring runs cables along the surface of walls and ceilings, held in place with clips or cleats, with no enclosure around the cable at all. It was cheap and quick to install, but it leaves wiring insulation directly exposed to dust, moisture, insects, and physical contact for its entire life.
Casing-capping improved on this slightly by running cable inside a wooden or PVC channel fixed to the wall, with a snap-on cover. It looks tidier than open wiring, but the enclosure is not sealed, offers minimal mechanical protection, and the wood versions in particular degrade, warp, and crack with age and humidity.
Both methods share the same core problem: the cable's own insulation is the only thing standing between a live conductor and the outside world. Once that insulation weakens with age, which it does in every home eventually, there is no secondary barrier. A modern uPVC conduit system solves this by fully enclosing the cable in a sealed, mechanically protected tube, so a degraded cable insulation issue is caught inside a closed system rather than exposed directly to the room.
Casing-capping and open wiring are also increasingly flagged during property inspections, insurance assessments, and resale evaluations, since they no longer reflect current safe wiring practice.
Retrofitting uPVC conduit in existing walls
This is usually the first practical question homeowners ask: does rewiring mean breaking open every wall in the house? Not necessarily. There are two main approaches, and most rewiring projects end up using a mix of both depending on the room and the wall.
Surface-mounted conduit
Conduit is fixed directly onto the existing wall or ceiling surface using saddle clamps, without any chasing or cutting into the wall. This is the fastest and least disruptive retrofit method:
- No demolition, no plaster removal, and minimal mess compared to embedding conduit into the wall
- Fully accessible after installation, meaning any future addition or repair does not require reopening a finished wall
- Visible on the wall surface, which is the main tradeoff homeowners weigh against the convenience
Surface conduit is the practical default for most whole-house rewiring in an occupied home, particularly in utility areas, kitchens, service corridors, and any space where visible conduit is acceptable or can be routed along skirting lines and corners where it is less noticeable.
Partial wall chasing
Where a fully concealed finish matters, typically living rooms, bedrooms, and any area with a fresh paint or finish plan, a groove is cut into the plaster along the planned conduit route, the conduit is embedded and covered with fresh plaster, then repainted. This restores a fully concealed finish but involves real demolition and reinstatement work:
- Dust, noise, and disruption to the specific wall sections being chased
- Replastering and repainting required afterward, adding both cost and time
- A cleaner final look, matching what a new-build concealed installation achieves
Most homeowners land on a practical middle ground: surface conduit in service areas and less visible corners, partial chasing in main living spaces where appearance matters most. This keeps the disruption and cost of a full rewiring project manageable while still delivering a safe, code-compliant result.
Cost factors for partial vs full house rewiring
Every rewiring quote varies with house size, wall construction, how much of the existing wiring is being kept versus replaced, and local labour rates, so a single number is rarely useful. What is useful is understanding what actually drives the cost up or down.
Factors that increase cost:
- Choosing wall chasing over surface conduit for a larger share of the house
- A larger number of rooms and circuits, since cost scales with wiring points, not just square footage
- Upgrading the distribution board, main switch capacity, or adding new circuits for appliances the original wiring never accounted for
- Replastering, repainting, and general reinstatement after chasing work
- Older homes with harder-to-access wiring runs, such as those with false ceilings or built-in cabinetry over existing wiring paths
Factors that reduce cost:
- Using surface conduit wherever the room and finish allow it
- Phasing the project room by room rather than doing the whole house at once, spreading cost over time
- Reusing the existing distribution board location and main circuit layout where it is still adequate
- Bulk-purchasing conduit and fittings for the whole project upfront rather than buying piecemeal per room, which usually gets a better rate from a supplier
A partial rewiring, focused on the rooms and circuits showing actual warning signs, is naturally less expensive than a full house rewire, but it only makes sense when the untouched circuits are genuinely in acceptable condition. An electrician's site inspection is the only reliable way to get an accurate cost for your specific house, since wall construction, wiring age, and circuit count vary enough between houses that any generic estimate is little more than a rough starting point.
Which conduit type is most practical for renovation work
For most rewiring projects in an occupied home, surface-mounted conduit is the practical default, and for good reason.
- Minimal disruption. No chasing means no demolition, no dust, and rooms can often stay usable during the work, which matters in a house people are actually living in during the project.
- Faster completion. Surface installation moves considerably quicker than chasing, plastering, and repainting, which shortens the time the household has to work around the disruption.
- Full future access. Any future addition, whether it is a new socket for an appliance or a repair, does not require reopening a finished wall.
Our detailed comparison of concealed and surface wiring covers the safety, cost, and grade considerations for each approach in more depth, including which IS 9537 Part 3 grade suits each installation type. For a renovation specifically, MMS grade conduit generally offers the right balance of mechanical strength and value for surface-mounted retrofit work, while HMS is worth considering for any section that will eventually be chased into a wall or exposed to more mechanical risk.
Getting the size right matters just as much in a retrofit as in new construction. Our conduit pipe size chart breaks down which diameter suits lighting circuits, socket circuits, and feeder runs, which is especially useful when retrofitting, since undersized conduit makes cable pulling through an already-restricted surface run even more difficult.
How to phase rewiring room by room on a budget
Rewiring an entire occupied house at once is disruptive and expensive all at once. Phasing the work is a practical way to manage both cost and household disruption, and it works well for conduit-based rewiring specifically because each room's circuit is largely independent of the others.
A sensible phasing approach:
- Start with the highest-risk areas first. Kitchens, utility areas, and any room where warning signs have already appeared should be first in line, since these carry the actual safety risk.
- Group rooms by shared walls or circuits. Rewiring adjoining rooms together reduces redundant labour and material trips compared to jumping between disconnected parts of the house.
- Keep the distribution board upgrade separate but early. If the main board needs upgrading to handle modern loads, doing this early means each subsequent room phase connects into a board that is already sized correctly, rather than needing rework later.
- Plan conduit sizing for the whole house upfront, even if installation is phased. Buying to a single project specification, rather than deciding size and grade room by room, avoids inconsistent conduit dimensions and keeps fittings compatible across phases.
- Finish one room fully before moving to the next, including any replastering and painting needed, so the household is never dealing with multiple half-finished rooms at once.
This approach spreads cost over months rather than requiring the full budget upfront, and keeps at least part of the house fully livable throughout the project.
Earthing and bonding: what to check and upgrade alongside conduit
Rewiring is the natural point to address earthing, since it is far easier to correct while walls and connections are already open than to retrofit later as a standalone project.
What to check:
- Whether the house has a proper earth connection at all. Many older homes, particularly those built before earthing became standard practice, either lack one entirely or rely on an inadequate or corroded earth electrode.
- Earth continuity at every socket and metal fixture, since a broken earth path anywhere in the circuit defeats the protection for everything downstream of that break.
- The condition of the earth electrode itself, since a corroded or poorly maintained earth pit loses effectiveness over years even if it was correctly installed originally.
- Whether metal fixtures such as geysers, exposed metal conduit sections, and bathroom fittings are properly bonded to the earth system.
What to upgrade:
- Install or replace the earth electrode if the existing one is missing, corroded, or undersized for the house's current load
- Add a residual current device (RCD) or earth leakage circuit breaker at the distribution board, which cuts power rapidly if a leakage fault occurs, a meaningful safety upgrade that many older Indian homes were never fitted with
- Verify and correct earth continuity room by room as each phase of rewiring is completed, rather than assuming the old earth wiring is still intact
- Bond all conduit sections and metal enclosures correctly as part of the new installation, since uPVC conduit itself is non-conductive but any metal fittings, boxes, or fixtures in the system still need proper bonding
Earthing is not a cosmetic upgrade. It is the difference between a fault being cut off safely at the breaker and a fault energising every metal surface connected to the circuit. Any rewiring project that skips a proper earthing check is leaving the single most important safety layer unaddressed.
Getting your rewiring project started
Old house rewiring is rarely an all-or-nothing decision. Understanding which warning signs actually demand action, choosing surface conduit or partial chasing based on the room and budget, phasing the work sensibly, and getting earthing properly checked alongside the conduit work all combine to make this a manageable project rather than an overwhelming one.
Trity Pipes manufactures ISI-certified uPVC conduit pipes and a complete matching fitting range across LMS, MMS, and HMS grades, suited to both surface-mounted retrofit work and concealed rewiring. You can review our full uPVC conduit pipes and fittings range for the sizes and grades that fit your rewiring plan.
Planning a rewiring project? Get bulk conduit pricing from Trity for your project's room count and phasing plan, and our team will help you specify the right conduit and quantities before you start.